Have you heard how great coffee soap is for your skin?
First up, caffeine contains antioxidants which fight free radicals, the particles responsible for signs of premature aging. You know the ones we mean: wrinkles, fine lines and loss of elasticity.
It also has anti-inflammatory properties, which means it can tone down redness and promote an even skin tone.
And with a coffee-infused soap, you get that delicious aroma when you wash. What’s more, the beans act as an exfoliant, scrubbing away dead skin cells to give you a fresh glow.
It all sounds pretty good news, right? That’s why caffeinated soaps and skin preparations are now big business.
But before you rush out to the shops, have you ever thought about making your own at home? Not only will you save some cash, you’ll know exactly what ingredients you’re putting on your skin.
But just how do you go about doing it? We’re here to help! Read on for our step by step guide to DIY coffee bean soap. It’s so good, you may never use another soap again…
What you will need to follow this tutorial
Ingredients
Most soap making involves using a substance called lye. Lye is dangerous stuff – it eats through organic matter. So you can imagine that if you get some in your eye while making soap, you’re in serious trouble.
Added to these risks are the fact that lye and coffee don’t smell particularly good when mixed together. That’s because the lye actually scorches the coffee. To cover up the unpleasant odor, coffee soaps made with lye use strong essential oils.
We can avoid both of these problems by steering clear of lye altogether. Using a melt and pour soap base eliminates any need for it. It also cures more quickly, so your finished soap will be ready sooner. Perfect!
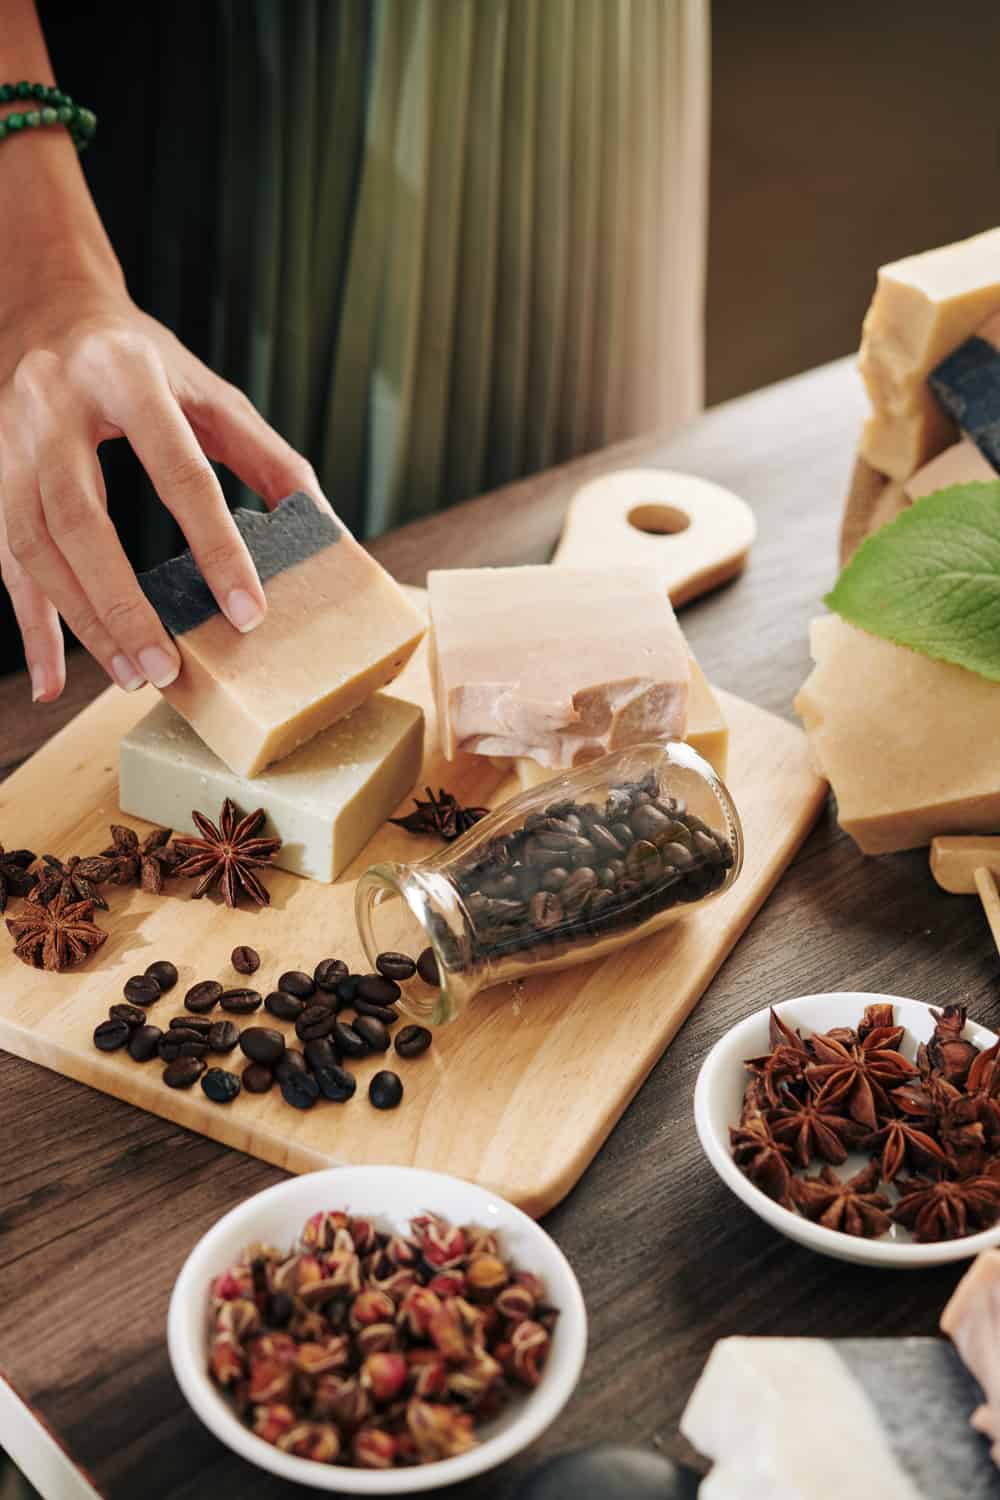
There are lots of different melt and pour soap bases on the market. Choosing the right one is the biggest difference between a great soap and a poor one.
Whatever you do, don’t pick up the first soap base you find in your local craft shop! Lots of these are filled with a cocktail of detergents and lathering agents. Choose one with an all-natural base instead. Options include olive oil, hemp seed, aloe vera, shea butter and honey.
We recommend goats’ milk for its wonderfully creamy lather. It’s also an off-white color so – unlike the green shades of aloe vera or olive oil – it won’t interfere with achieving a coffee hue for your finished soap.
For the most intense aroma, grind the beans yourself just before using. Either a burr or metal blade grinder will work just fine for this.
Without coloring, your finished soap will be a creamy white shade with brown speckles from the ground coffee. This looks perfectly nice, but we think a warm brown tone works even better. To achieve this, we’ll mix the glycerin together with the brown oxide pigment.
Equipment
Double check that you have enough soap base to fill your chosen mold. Most molds will tell you the quantity they hold on the packaging, but if yours doesn’t, there’s an easy fix. Just fill the mold to the brim with water, then pour the water into a measuring jug. Take a look at the gauge to see how much it holds.
The glycerin in melt and pour soaps makes them likely to sweat, so airtight plastic packaging is very important. You can use plastic wrap, but a cellophane bag will give a neater result. Choose a size just bigger than the finished soap to avoid it jiggling about inside and smearing the bag.
How to Make Coffee Soap
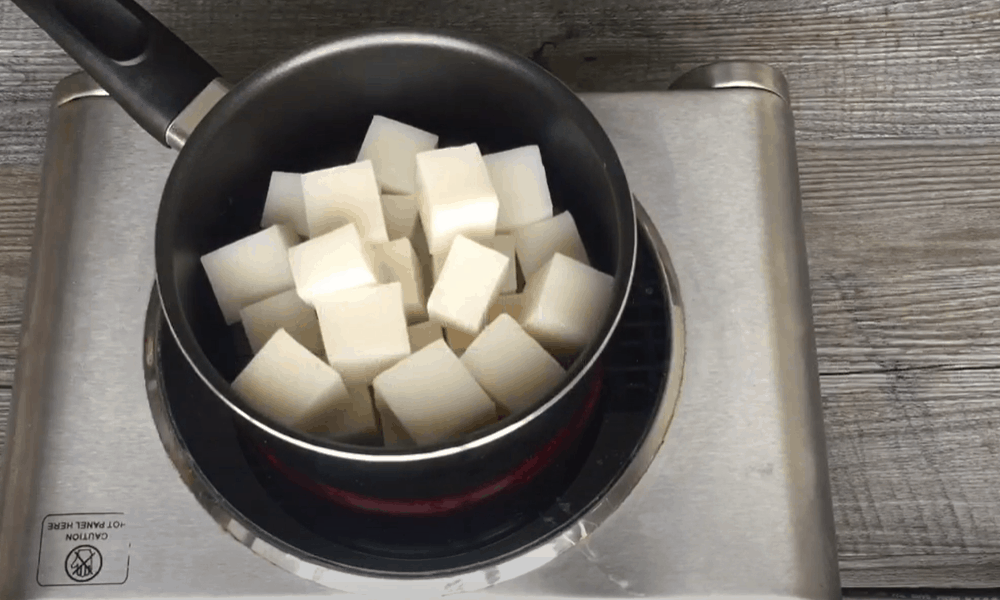
Step 1: Divide the soap base into four pieces
Take the large knife and carefully cut the melt and pour soap base into four equally sized pieces. Set three of those pieces to one side – you’ll be using them later.
Now cut the fourth piece into segments of about half an inch to an inch long.
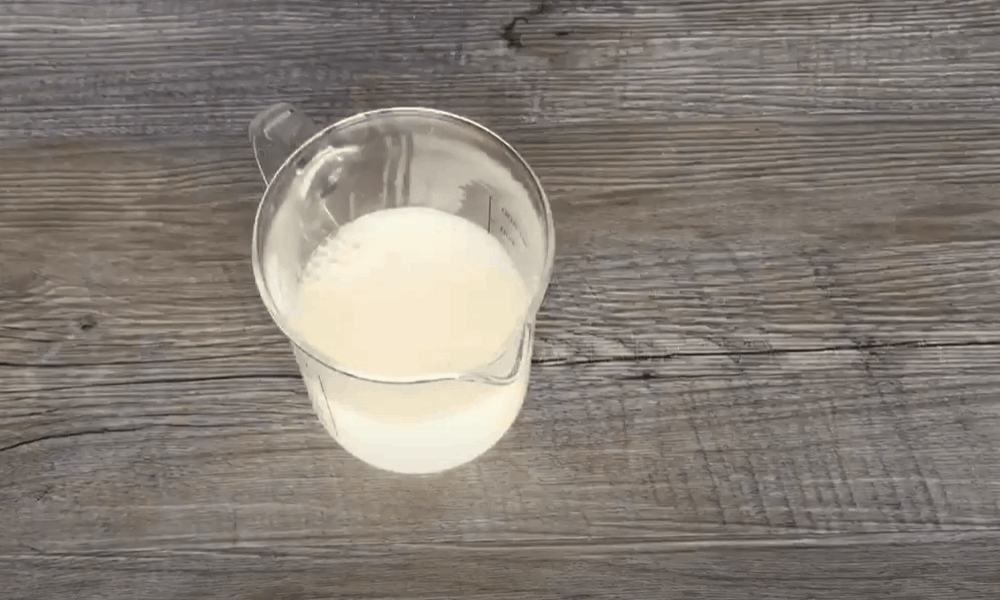
Place the pieces inside the glass measuring cup.
Step 2: Melt one-quarter of the soap base in the microwave

Place the measuring cup with the soap into the microwave and heat on full power for 30 seconds. Then remove it and give it a stir. This will help break up the pieces of soap.
Return the cup to the microwave and heat for a further ten seconds. Stir again. It’s unlikely that the soap will have melted completely at this stage. If it hasn’t, put it back in the microwave and heat for another five seconds. Then take it out and stir again.
Keep heating for five seconds at a time, then stirring, until the soap has completely melted.
Bonus Tips: Watch out for bubbles beginning to form in the melting soap. That’s a sign that it’s over-heating and is in danger of losing its moisture.
Step 3: Prepare your soap mold
Your soap will need to rest undisturbed for at least three hours. That means you find an even spot for it to go, at a level that’s low enough for you to comfortably pour the soap into.
Most importantly, it needs to be somewhere that it won’t be knocked by any pets or other family members!
When it’s in place, line the bottom of the mold with coffee beans. You want just enough beans to form a layer over the surface. The precise amount will depend on the size of your mold, but 2 to 3 tablespoons should be enough in most cases.
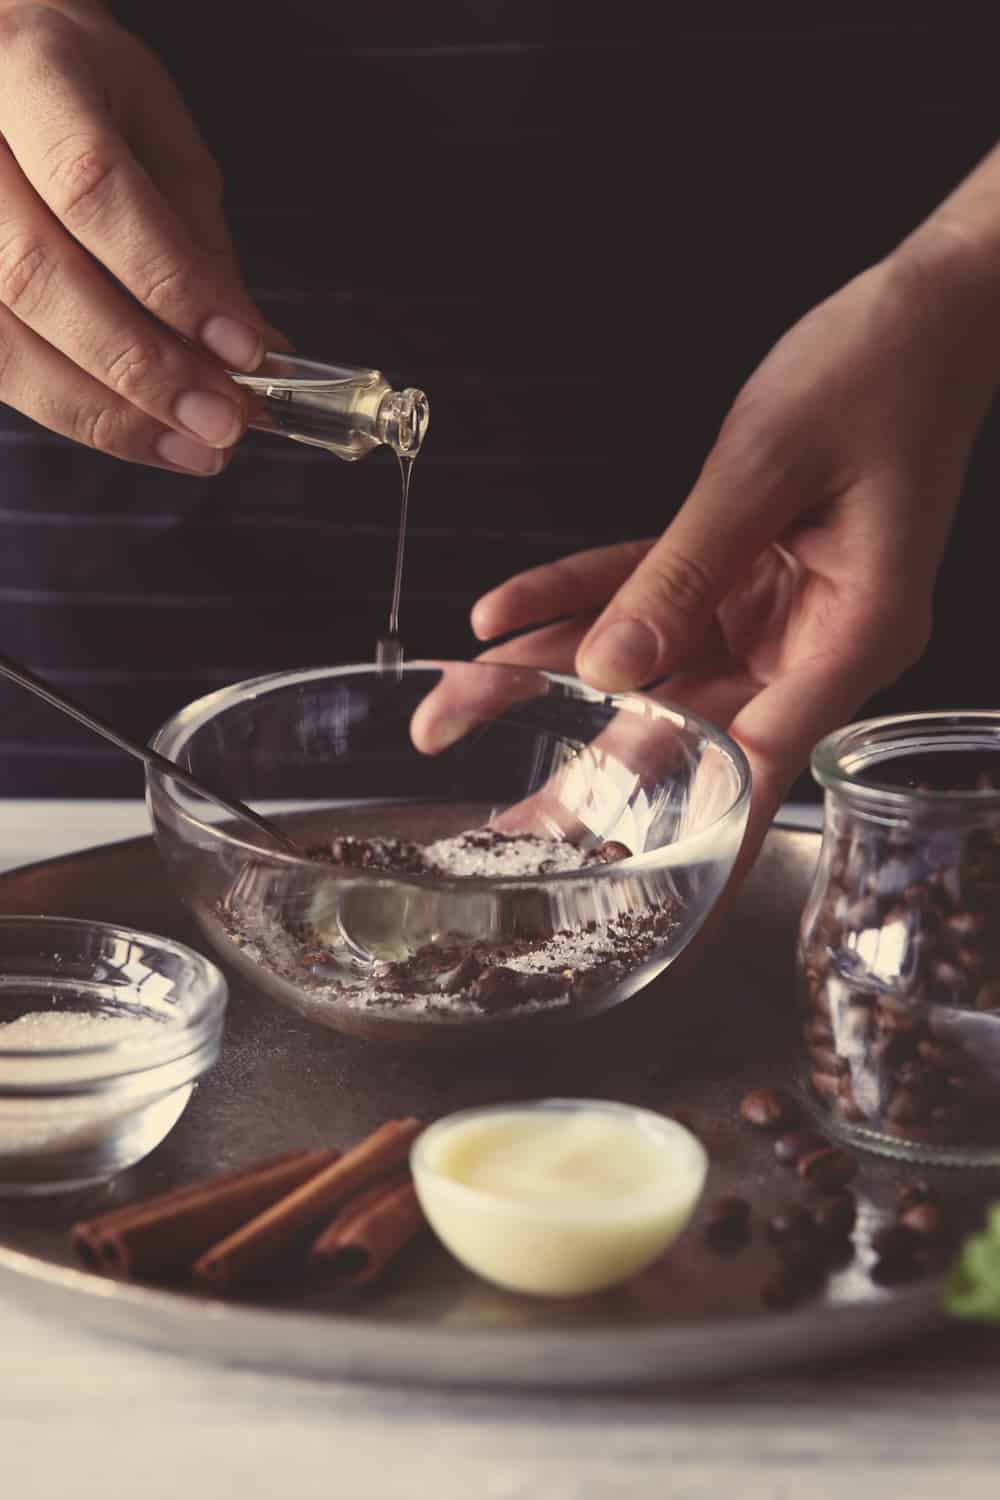
Step 4: Prepare the soap mixture and pour into the mold
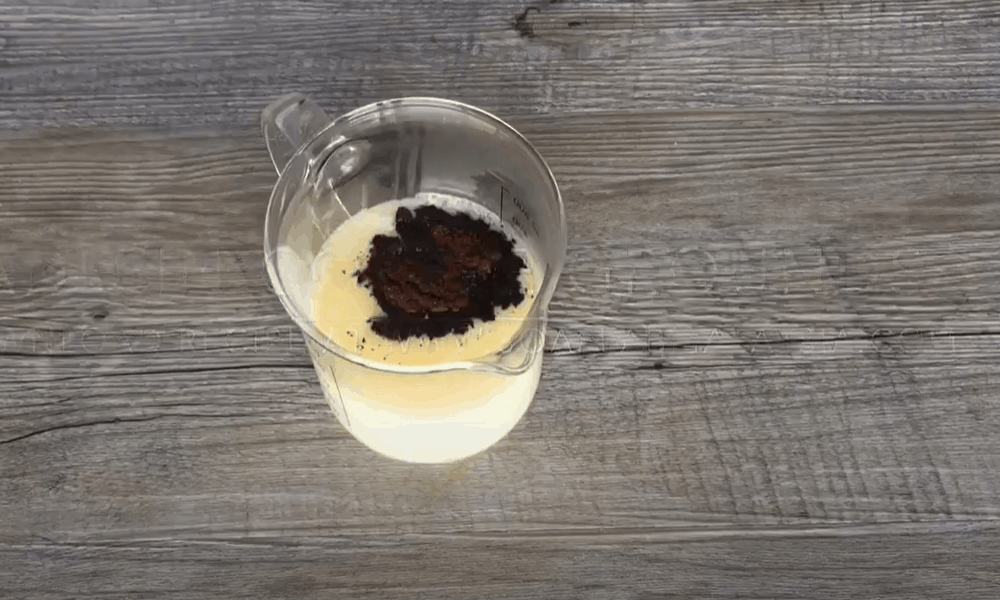
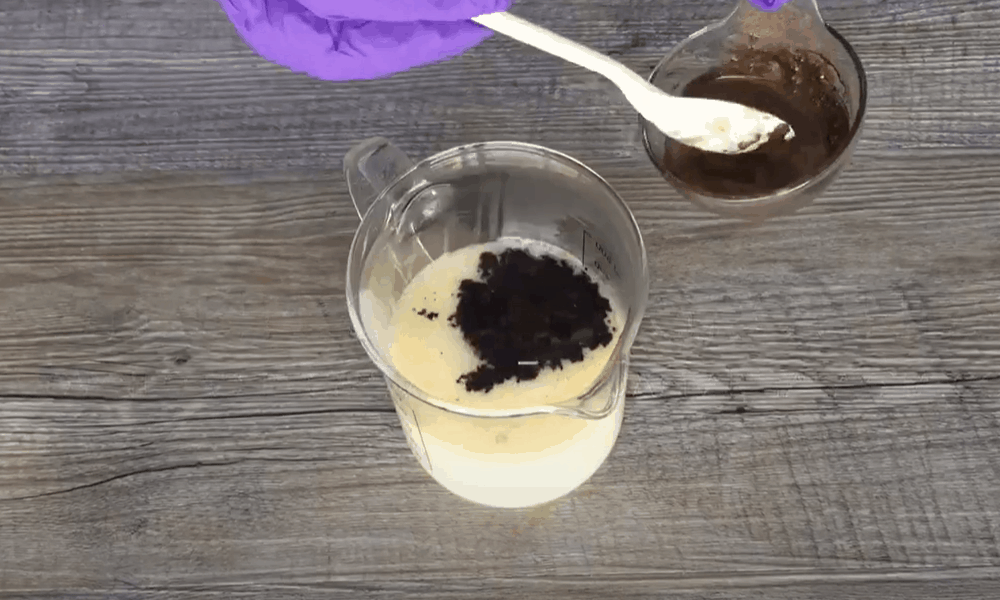
Grind some coffee beans and add ¼ of a teaspoon of the grounds to the melted soap mixture. Then add half a teaspoon of shea butter.
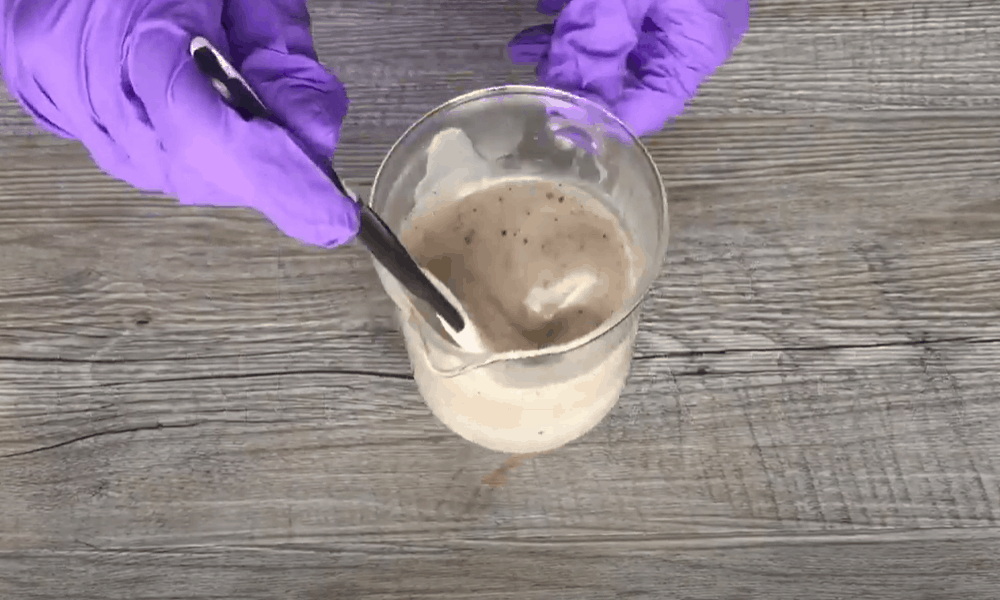
Now take a spoon and stir the mixture thoroughly.
Bonus Tips: Stir the soap mixture slowly and steadily. Stirring too fast will form bubbles that will impair the quality of your finished soap. When all the ingredients are thoroughly blended together, pour the mixture carefully into the mold. There should be just enough liquid to cover the coffee beans.
Step 5: Prepare the rest of the soap base
Now take the three-quarters of the soap base that you set to one side earlier. Using your sharp knife, cut it into pieces the same size as the ones you used for the first pour. That’s between half an inch and an inch long.
Place the pieces in the microwave safe cup and repeat the heating process. Remember, you want to heat the soap for 30 seconds at first, then remove and stir. The next time it should go in for 10 seconds, with another stir.
If you’re planning to color your soap, pause the heating after the ten seconds burst.
Step 6 (optional): Prepare and add the coloring
If you’d like your soap to have a delicious coffee color, this is the time to prepare the colorant.
Mix the 1/8 of a teaspoon of brown oxide with ½ a teaspoon of glycerin in a small bowl.
Then add half the coloring to the hot soap and stir it well.
Take a look at the color; is it dark enough? If so, you can move onto the next step. If you’d like a darker shade, add the rest of the brown oxide mixture.
Step 7: Continue heating the soap until it has completely melted
Return the hot soap to the microwave and heat it on full power for five seconds.
Now take it out and give it a gentle stir.
If there are no solid particles remaining, move onto the next step. If not all the soap has melted, put it back in the microwave for another five seconds. Remove and stir again. Repeat as necessary until the mixture is completely liquid.
As before, watch out for any bubbles forming. They’re a sign the soap has got too hot.
Step 8: Pour the remaining soap mixture into the mold
When the soap has completely melted, add the last of the shea butter and coffee grounds. Mix them together carefully so that they spread evenly through the soap.
Now take your spray bottle of rubbing alcohol and set it down near the mold. You may need to use it in a moment.
Gently pour the rest of the soap mixture into the mold. Watch out for any bubbles forming on the surface. If you see any, give them a spray with a little of the rubbing alcohol. A quick squirt from a distance of about 5 to 10 inches should make them disappear.
Bonus Tips: An empty bottle of pump action body spray makes a great container for your rubbing alcohol. Just wash it out thoroughly first. If you have one, use a perfume funnel to make pouring in the alcohol less messy, and to avoid waste.
Step 9: Time to wait
Your soap needs a minimum of three hours to set hard. It’s even better to leave it overnight. Be patient – don’t touch it until it’s ready, or you may find yourself with fingerprints in your lovely smooth surface!
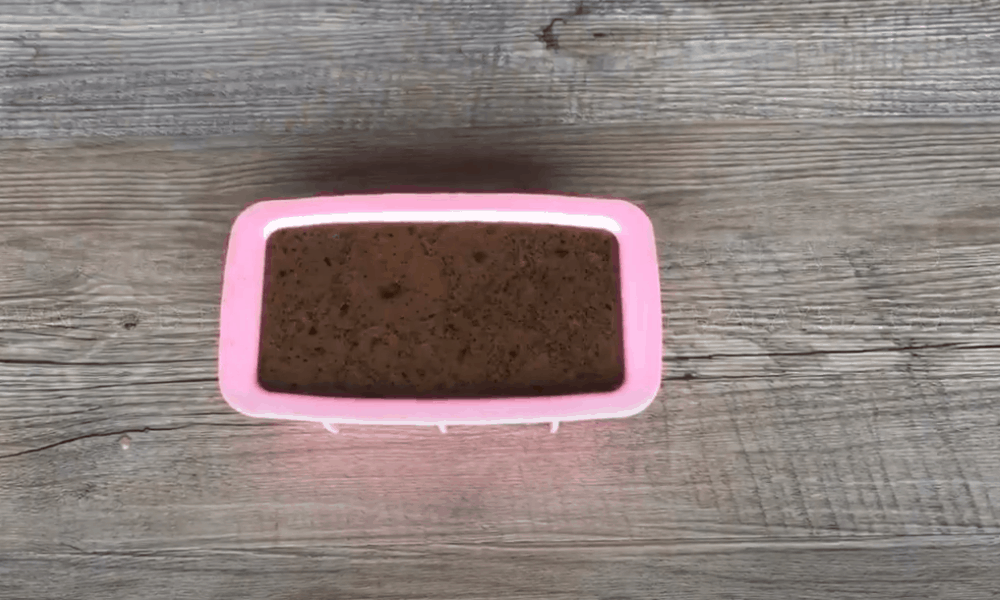
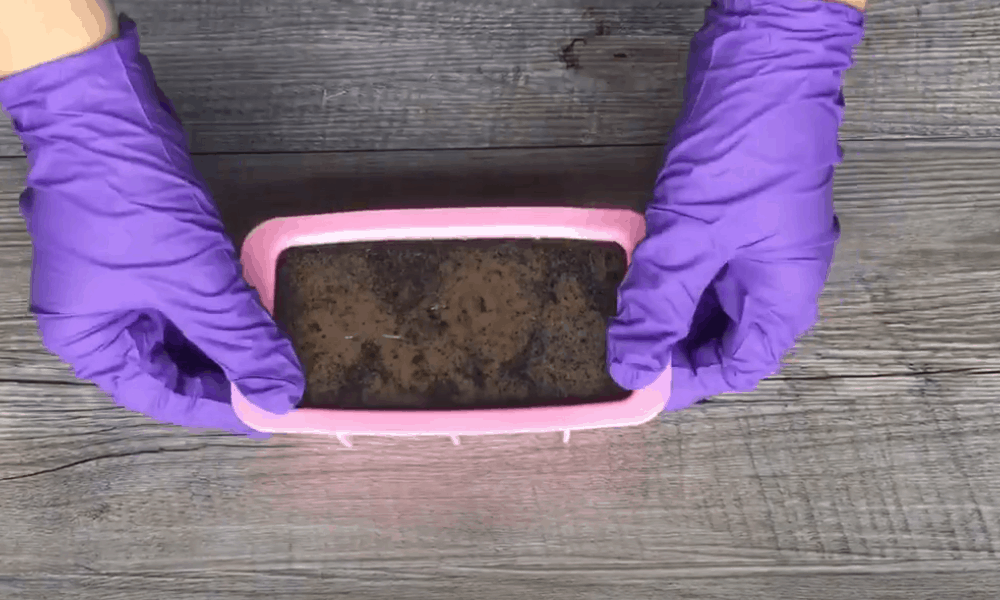
When the soap is completely set, it should shrink away from the side of the mold. Just apply firm but gentle pressure and it should pop out easily.
Bonus Tips: If you’ve left it for several hours but still find your soap is reluctant to leave the mold, put it in the freezer for a few minutes. The cold should shrink the soap further and help you ease it out.
Step 10: Get packing
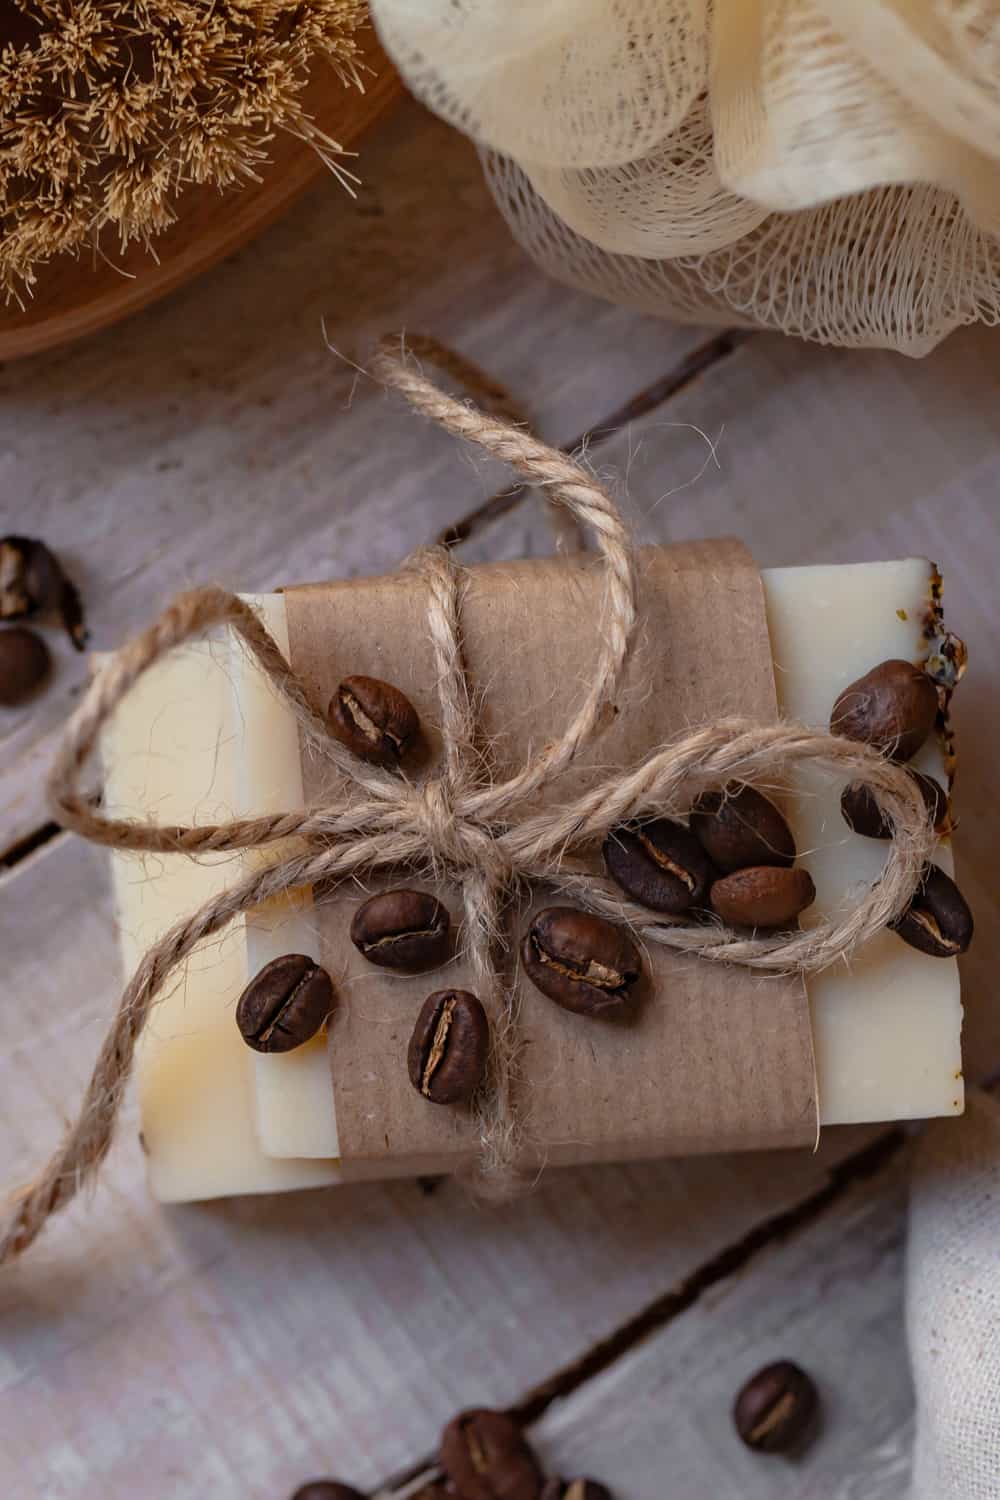
Now you’ve got your home-made coffee soap bar, package it so that it keeps fresh for as long as possible.
If you’re using a cellophane bag, this is easy to do. Just pop the soap inside, fold over the bag and seal using tape. If you have a heat gun, using this to seal the bag is even better. Take a look at this YouTube video to see how to do it.
Finally, add your own label to remember what you’ve made! Get as creative as you like here. If you’re giving this as a gift to someone, it’s also nice to add a label to the back listing the ingredients. That way they can really appreciate the all-natural goodness!
It’s also wise to add a note with some common-sense safety warnings. Remind people to discontinue use if they have any kind of allergic reaction. And to keep the soap out of the reach of children who may mistake the aroma for sweets.
Conclusion
We hope that you’ve enjoyed our coffee bean soap tutorial!
There’s no reason that wonderful, natural beauty products like this shouldn’t be available to everyone. We think this method gives you a simple way to make a great soap. And it’s safe too – you won’t have to worry about any of the risks of using lye.
Soaps like these sell for anything up to $7 a pop, so making them yourself is a really economical approach. Even better, it’s a lot of fun! Keep them yourself, or give them to friends as presents. And remember, the more you make, the more cost-effective it will be.
We hope you’re inspired to try making your own coffee bean soap. If so, please comment and let us know how you got on!
And if you’ve enjoyed this article, why not share it with your friends and introduce them to a new craft?