Half the fun of spending time outdoors is going without some of the creature comforts we enjoy at home.
But swapping a proper roof for a tent is one thing: how are you going to get through your camping trip without a cup of Joe?
The answer for the caffeine-deprived is, of course, cowboy coffee. Brewed in the open air with nothing more than beans and hot water, it’s coffee stripped back to its basics. So does that mean you have to compromise on flavor? Absolutely not.
If you’re thinking that you’ve tried it before and didn’t enjoy it – don’t be put off. Cowboy coffee is very easy to get wrong. But if you’ve got a great recipe and you’re prepared to take a little extra care with brewing, you can get a drink that’s as tasty as one you’d make at home.
So if you’re ready to give it a try, take a look at our step by step guide to how to make cowboy coffee. We’ll take you through everything from seasoning your coffee pot, to packing away properly when you’re ready to leave camp.
Follow our tutorial and we guarantee you’ll soon be sipping wonderful coffee under the stars!
What you will need to follow this Cowboy Coffee Recipe
1. Coffee of your choice – whole beans or pre-ground
The simplicity of cowboy coffee means you can use whatever variety of coffee bean you prefer.
In general, though, dark roasts work best. Using this brewing method with lighter roasts can sometimes result in a bitter taste.
If you’re making coffee at home, maximize freshness by grinding your beans just before you brew. If, however, you’re planning on making it on the campfire, you don’t want to have to add a coffee grinder to your backpack!
Make the life that little bit easier for yourself and use pre-ground coffee. A coarse grind will give you the best results.
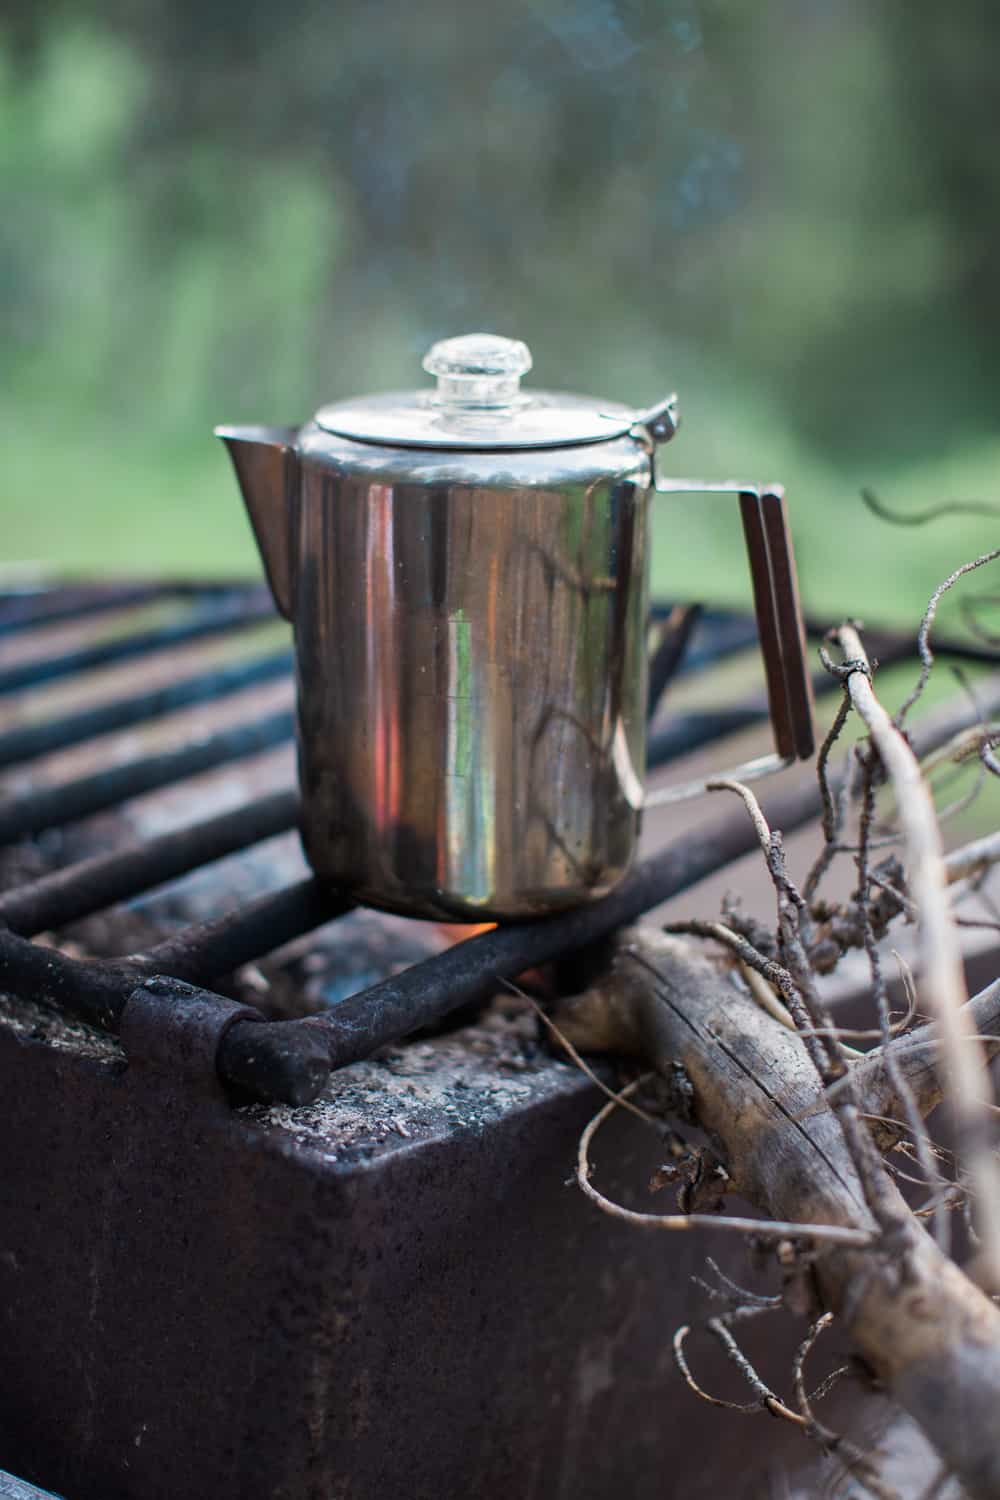
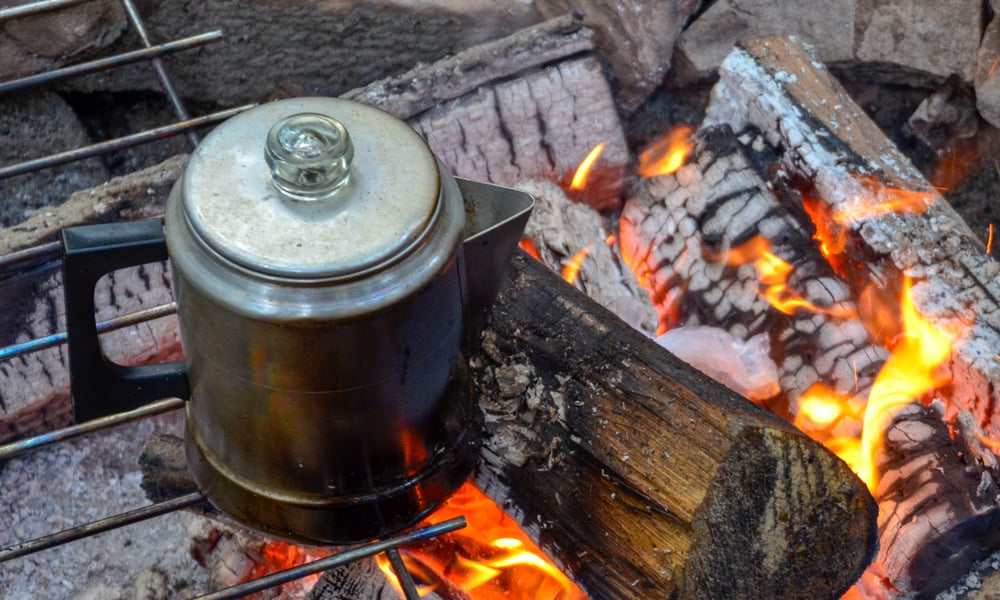
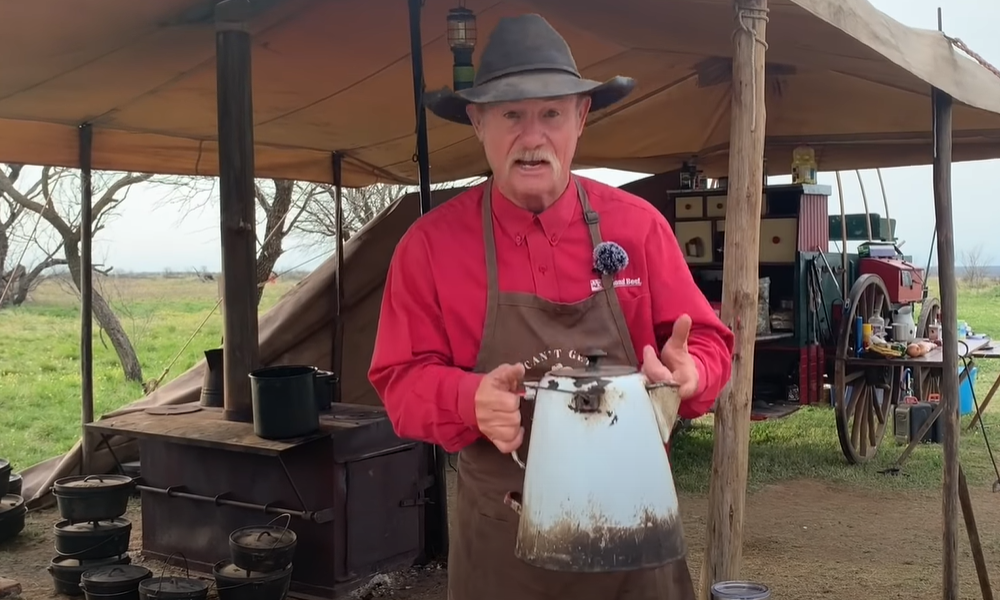
2. Tin coffee pot
A quality tin coffee pot that can cope with being put on a campfire is essential if you’re making your coffee in the Great Outdoors. They’re available brand new on Amazon.com for around $20.
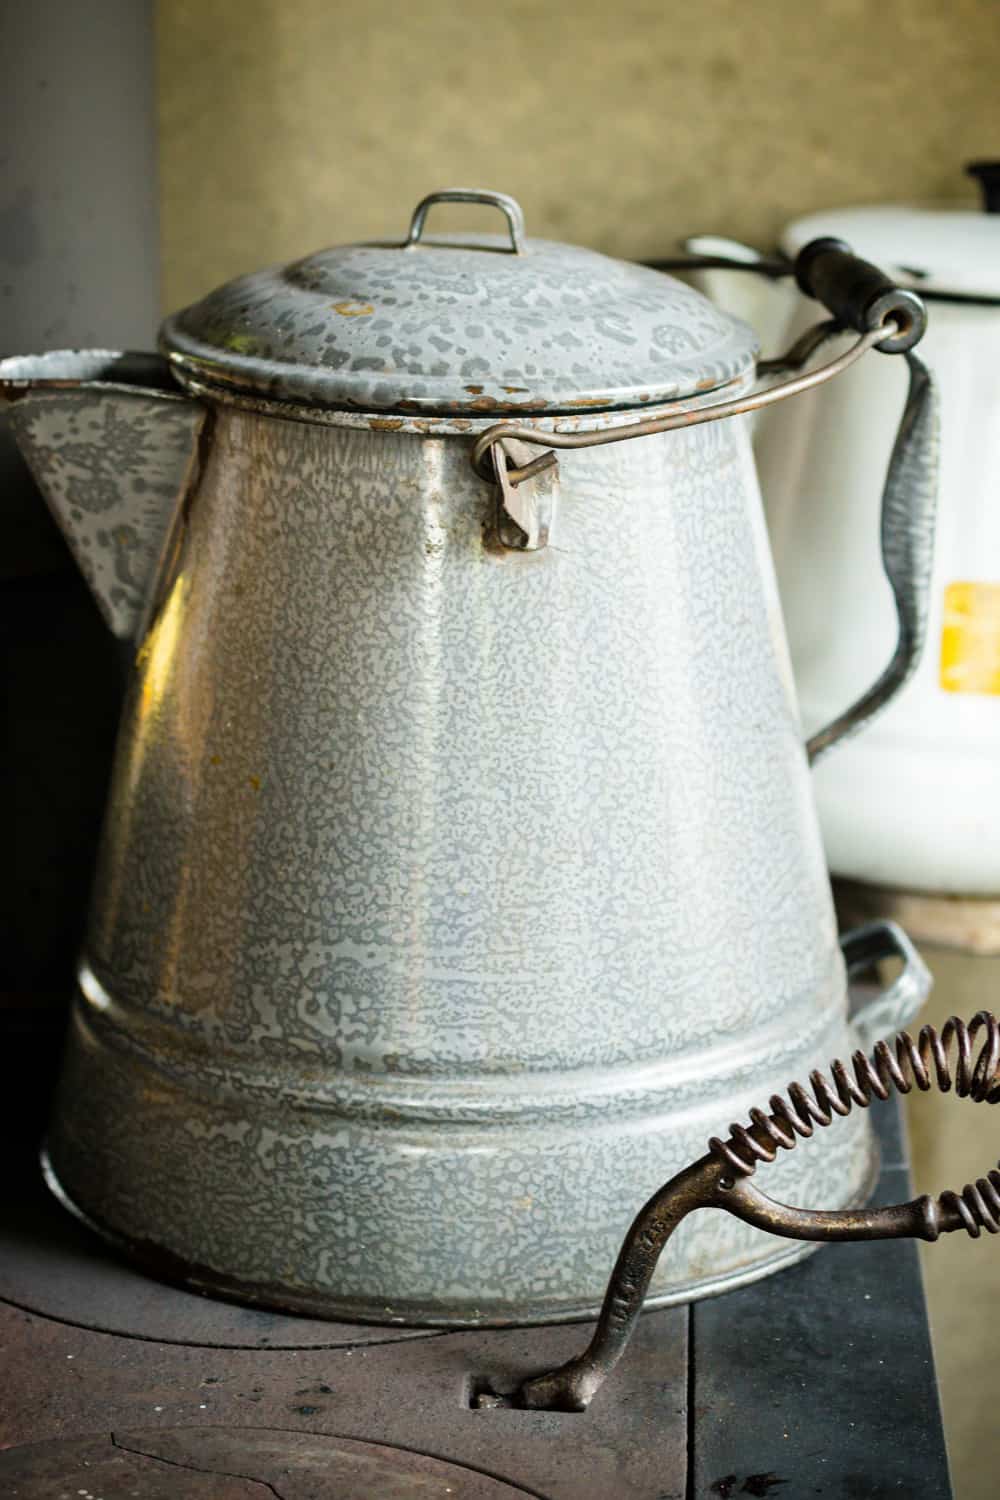
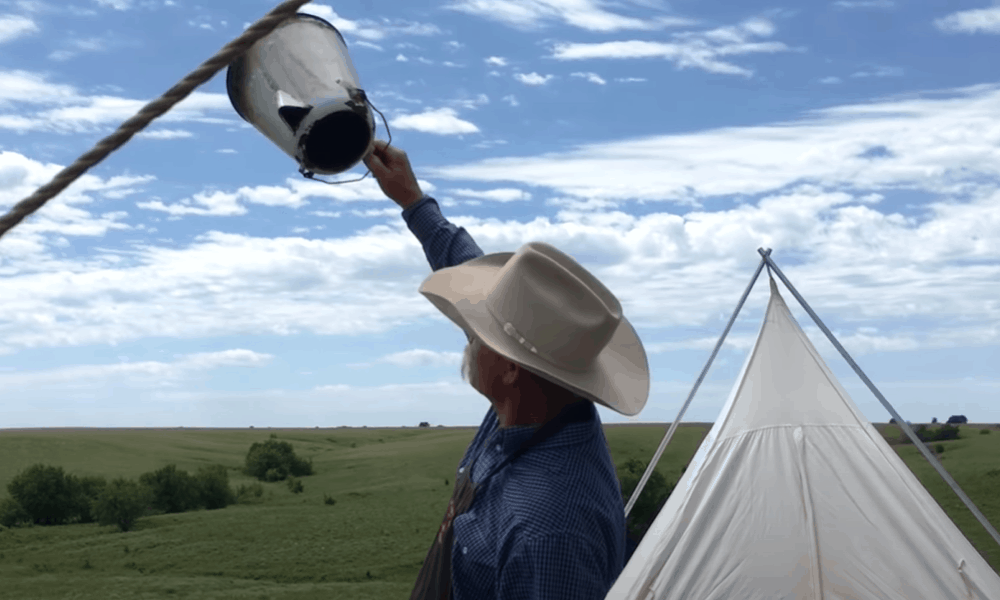
If you want something more authentic to the Old West, take a look in an antique store or on eBay. But make sure before you buy that there aren’t any holes or cracks. If you’re in a store, ask if you can take it outside and hold it up to the light. If you see daylight anywhere you shouldn’t, leave it on the shelf!
Alternatively, you can make cowboy coffee on the stovetop using any pot with a lid.
3. Water
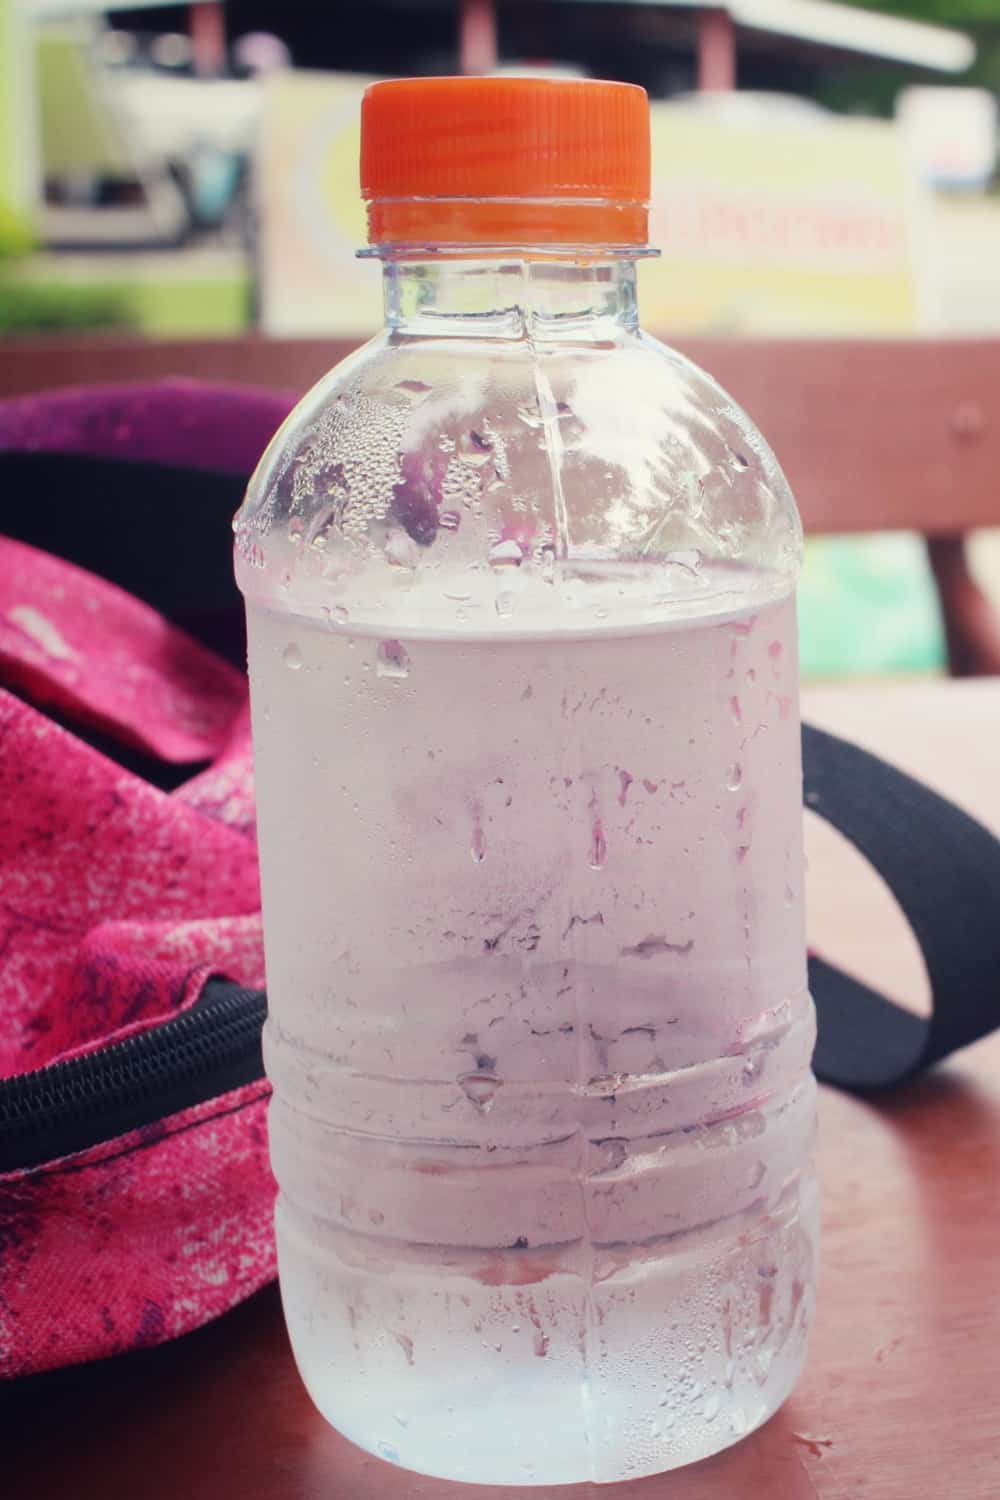
Take filtered or bottled water with you to get the best flavor. Whatever you do, don’t take water from streams or rivers.
Sterilizing water from those sources requires a very specific approach to boiling. Unfortunately, it’s not one that’s compatible with good coffee.
4. Heat source
If you’re making a truly authentic cup of cowboy coffee, only a campfire will do! But you can make it on the stovetop too.
How to make cowboy coffee: step by step instructions
Step 1: Check whether your coffee pot has been seasoned
If you’re lucky enough to have a coffee pot that’s already seen active service on a campfire, you can skip the next two steps. If not, you’ll need to season the pot to get an authentic cup of cowboy coffee.
If you’re in any doubt about whether your pot is already seasoned, just take off the lid and sniff inside. If it’s stained black and smells of coffee, you’re in luck – go straight to step 4! If there’s no smell and it’s bright and shiny inside, you’ll need to season it.
Step 2: Make a pot full of coffee – but don’t drink it
This stage takes a long time, so it’s best done before you go camping. Use the stovetop to keep things simple.
Start by filling the pot about three-quarters full with water and placing it on the stove. When the water is hot, add a healthy dose of coffee and leave it to boil. The measurements don’t need to be precise. This isn’t coffee you’re ever going to drink – it’s the only purpose is to season the pot.
Leave the pot on a rolling boil (where the bubbles rise rapidly to the surface) for at least 10 minutes. Then remove it from the heat and set it to one side on a heat-proof surface. Leave it there for up to 24 hours – the longer the better.
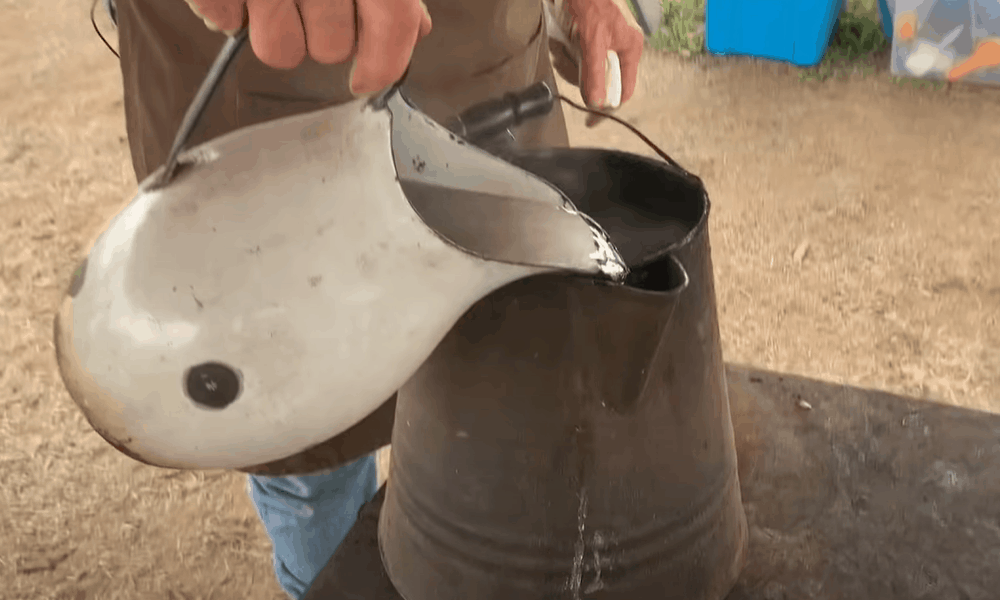
Step 3: Tip out the coffee and rinse the pot
When the time’s up, tip out the coffee and rinse the pot around with water. Whatever you do, don’t use detergent! You want to keep the coating of coffee that’s been left behind on the surface of the pot.
Now remove the lid, tip the pot upside down and leave it to dry. Make sure there’s no moisture inside before you replace the lid. If you put the lid back while it’s still wet, you may find the pot has grown mold when you next come to use it!
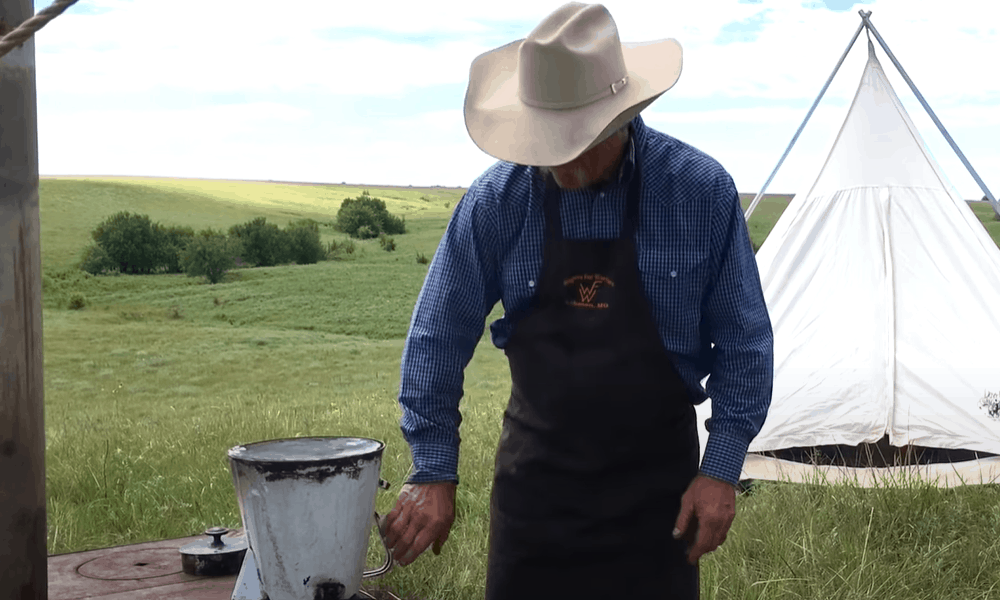
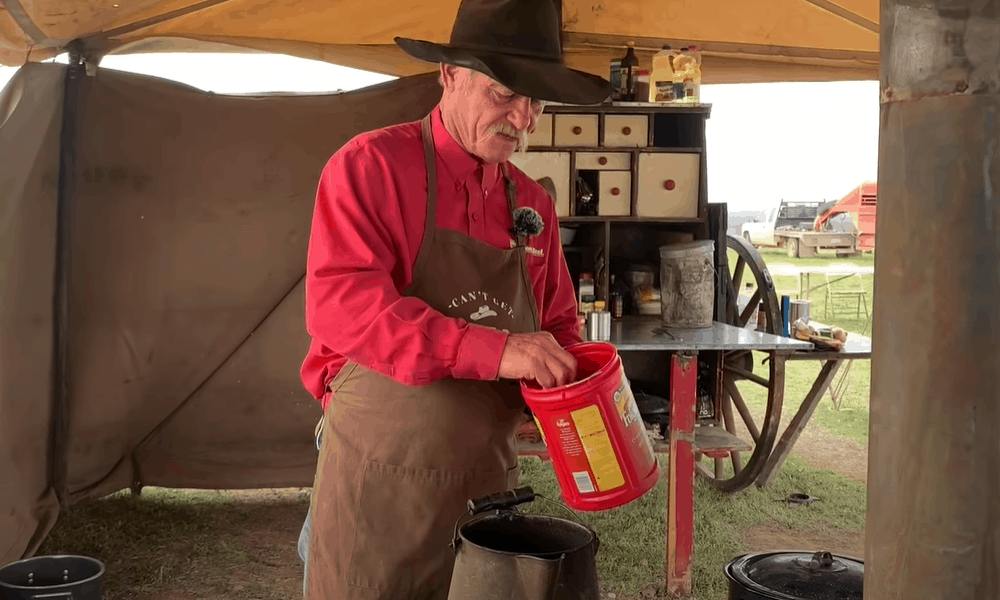
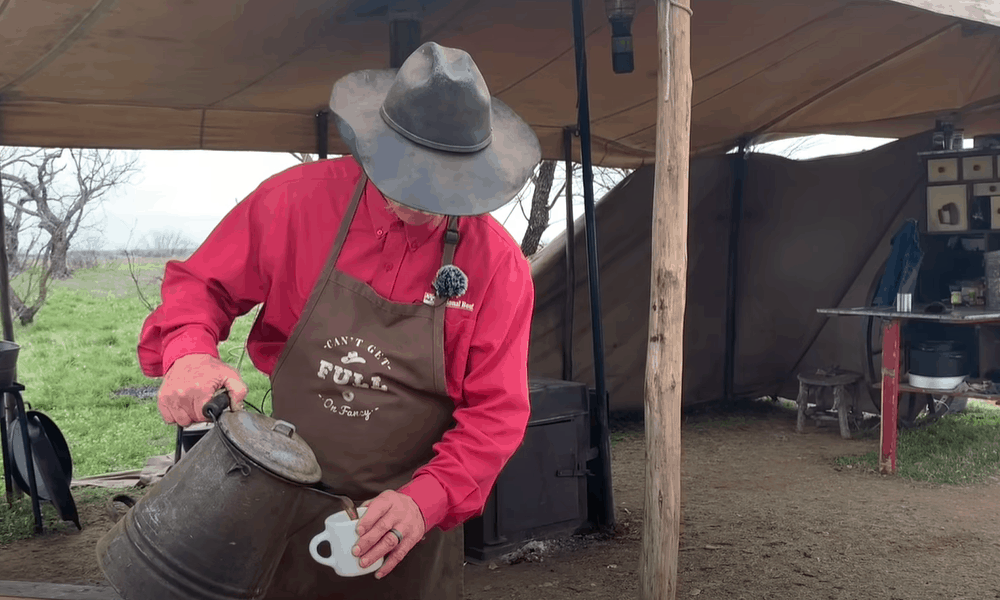
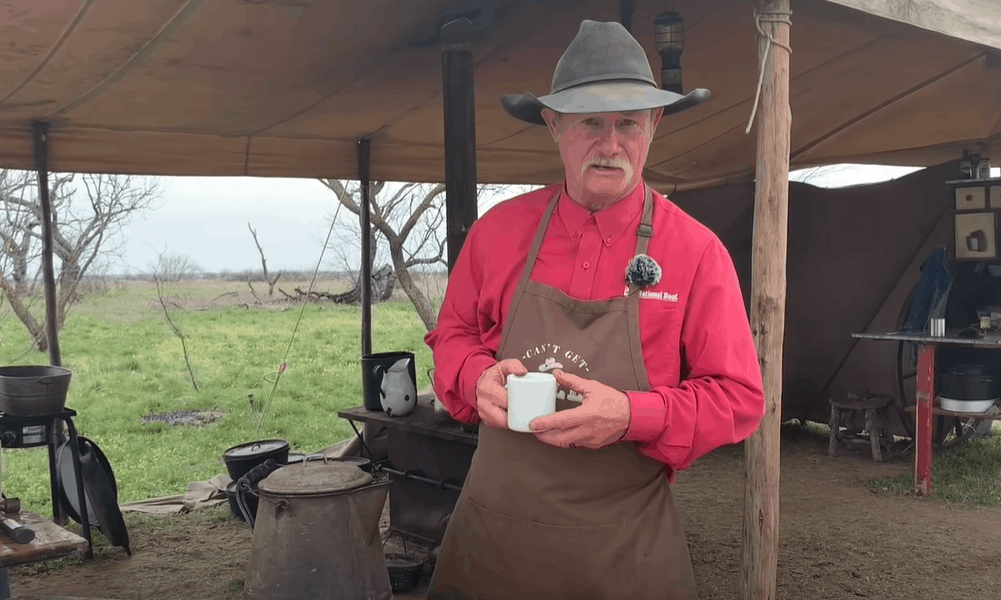
Real-life cowboy Kent Rollins shows how to season an authentic old-time coffee pot in this YouTube video.
Step 4: Add water to the pot
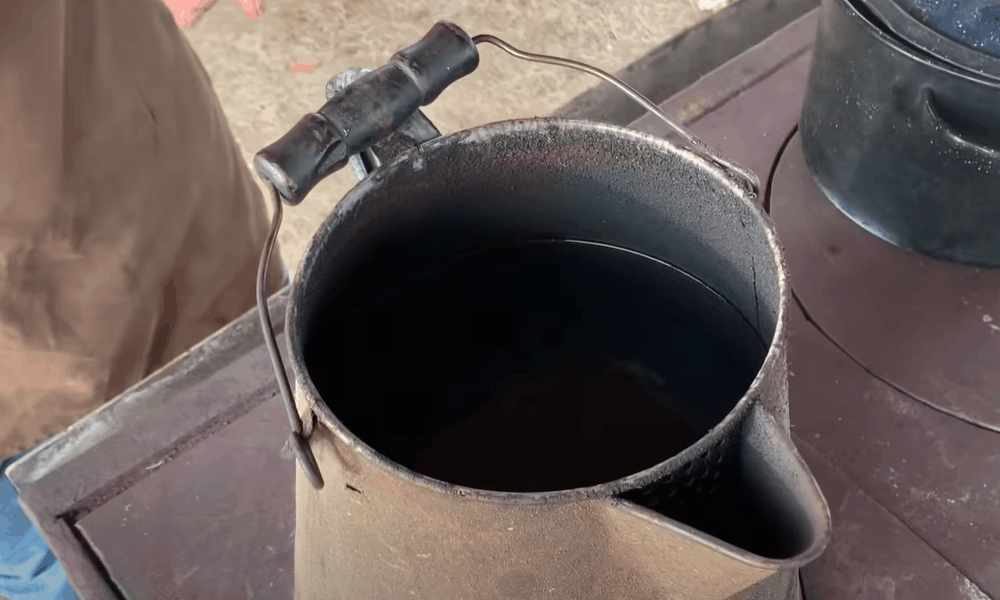
Fill your coffee pot with water up to about halfway up the level of the spout. Then place the pot on the heat source.
If you’re using the stove, this bit’s easy. If you’re brewing on a campfire, you need to take a little more care.
The fire needs to be burning steadily by this point. You’ll also need a flat spot to place the pot. If you’ve got a camp grill, that’s perfect. If not, you may need to move around wood or coals to achieve this.
Pro Tip: Take care as you move around your fuel to find a place for the coffee pot. If you disturb the fire too much, it will lose heat and impair the quality of your brew. Remember that some campsites prohibit open fires. Check before you set out, and if that’s the case make sure you pack a camping stove. It will work just as well to make your coffee.
Step 5: Add the coffee
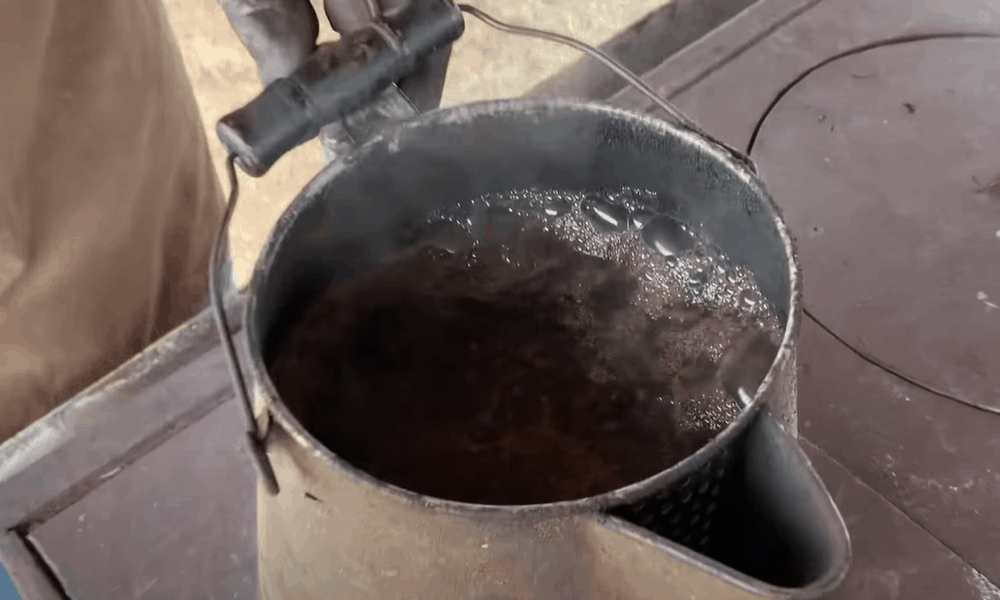
Give the water time to come to the boil. When it’s bubbling merrily, take it off the heat and leave it to cool for a minute or two.
Take care as you’re moving the pot – remember, the surfaces are going to be very hot! Use an oven mitt or tongs to avoid burns.
Now add the coffee. You want 2 tablespoons of coffee grounds for every eight ounces of water in your pot. But of course, true cowboys don’t measure this precisely! If you’re using a large, old-style coffee pot, skip the measurements and add three handfuls of coffee.
Pro Tip: Use coarse ground coffee for the best results. It will cope better with the heat and produce a less bitter cup of coffee. Stir the grounds into the water, leave the lid off and return the coffee pot to the heat. You want the water to return to a rolling boil for about a minute.
Step 6 (optional): Add eggshells
Some old-timers suggest adding crushed eggshells into the pot as well. If you want to do this, prepare the eggshell before you go camping!
After hard-boiling an egg, remove the shell and wait for it to dry out. Then use a mortar and pestle to grind it into a coarse powder.
It’s claimed that a pinch of this powder added to your coffee will help the grounds clump together and avoid them ending up in your cup. As an added bonus, it’s said that the alkalinity of eggshells offsets the acidity in the coffee. The result is a less bitter drink.
If you don’t like the idea of powdered eggshells in your coffee, you can add half an eggshell instead. The idea is that the shell will float on the surface of the coffee and attract the grounds.
Step 7: Remove the coffee pot from the heat
When the two minutes are up, remove the pot from the fire or stove. Replace the lid and let it sit for another couple of minutes.
Now pour cold water into the spout – for a large coffee pot, use a cup and a half of cold water. Don’t worry if you’ve decided against using eggshells, because this step will help to settle the grounds.
Step 8: Pour slowly
Don’t let the coffee sit around after it’s brewed. It will become over-extracted and take on an unpleasant, bitter flavor.
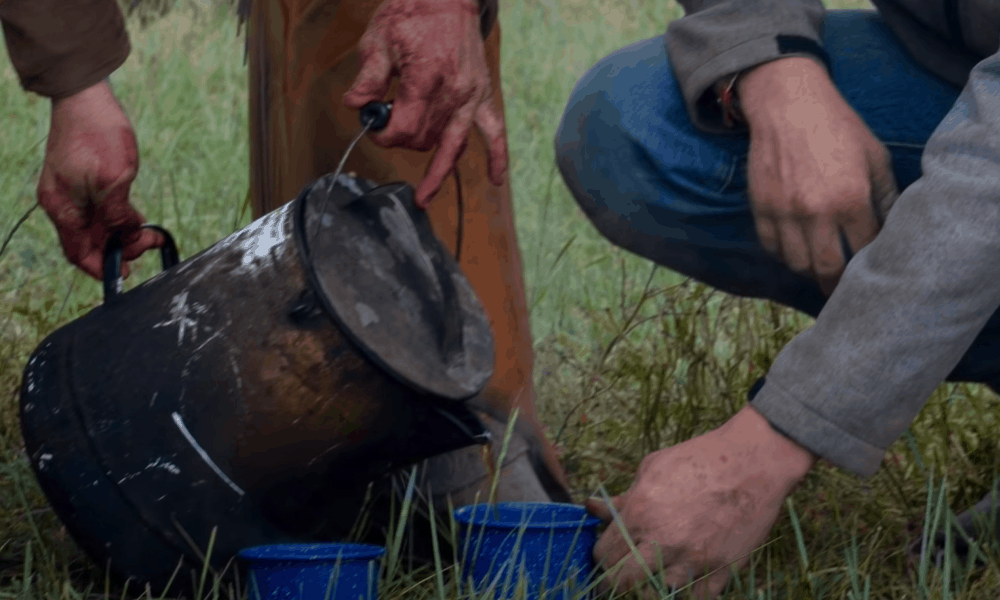
When brewing is finished, pour it slowly into as many cups as you require. The slow pouring here is very important. Remember, there’s no filter! Keeping it slow and steady will minimize the amount of coffee grounds that make it from the pot into your cup.
And whatever you do, don’t pour the last few drops of coffee from the pot. They’ll be packed full of coffee grounds and will taste horrible!
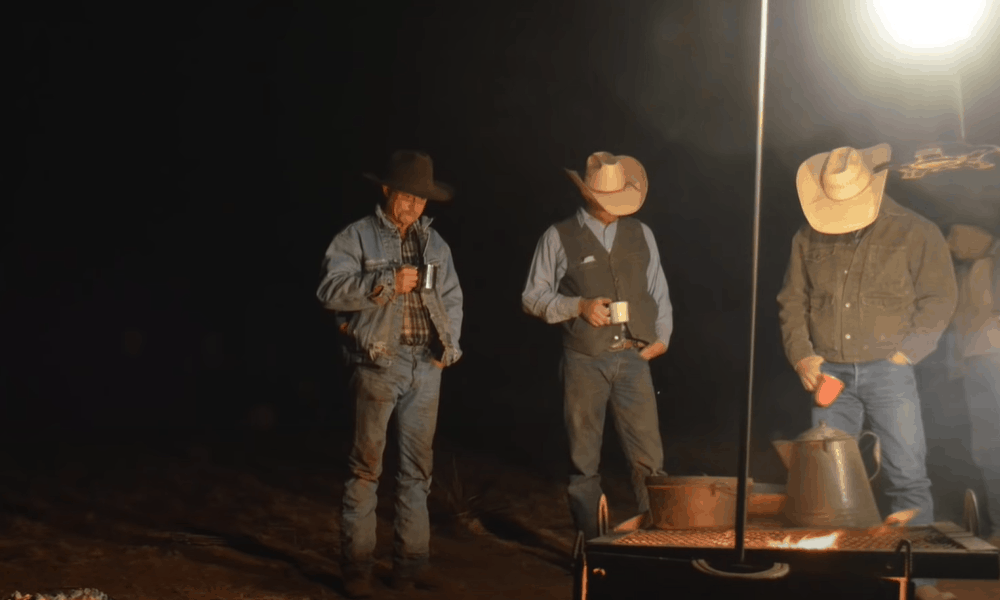
Step 9: Serve it cowboy style
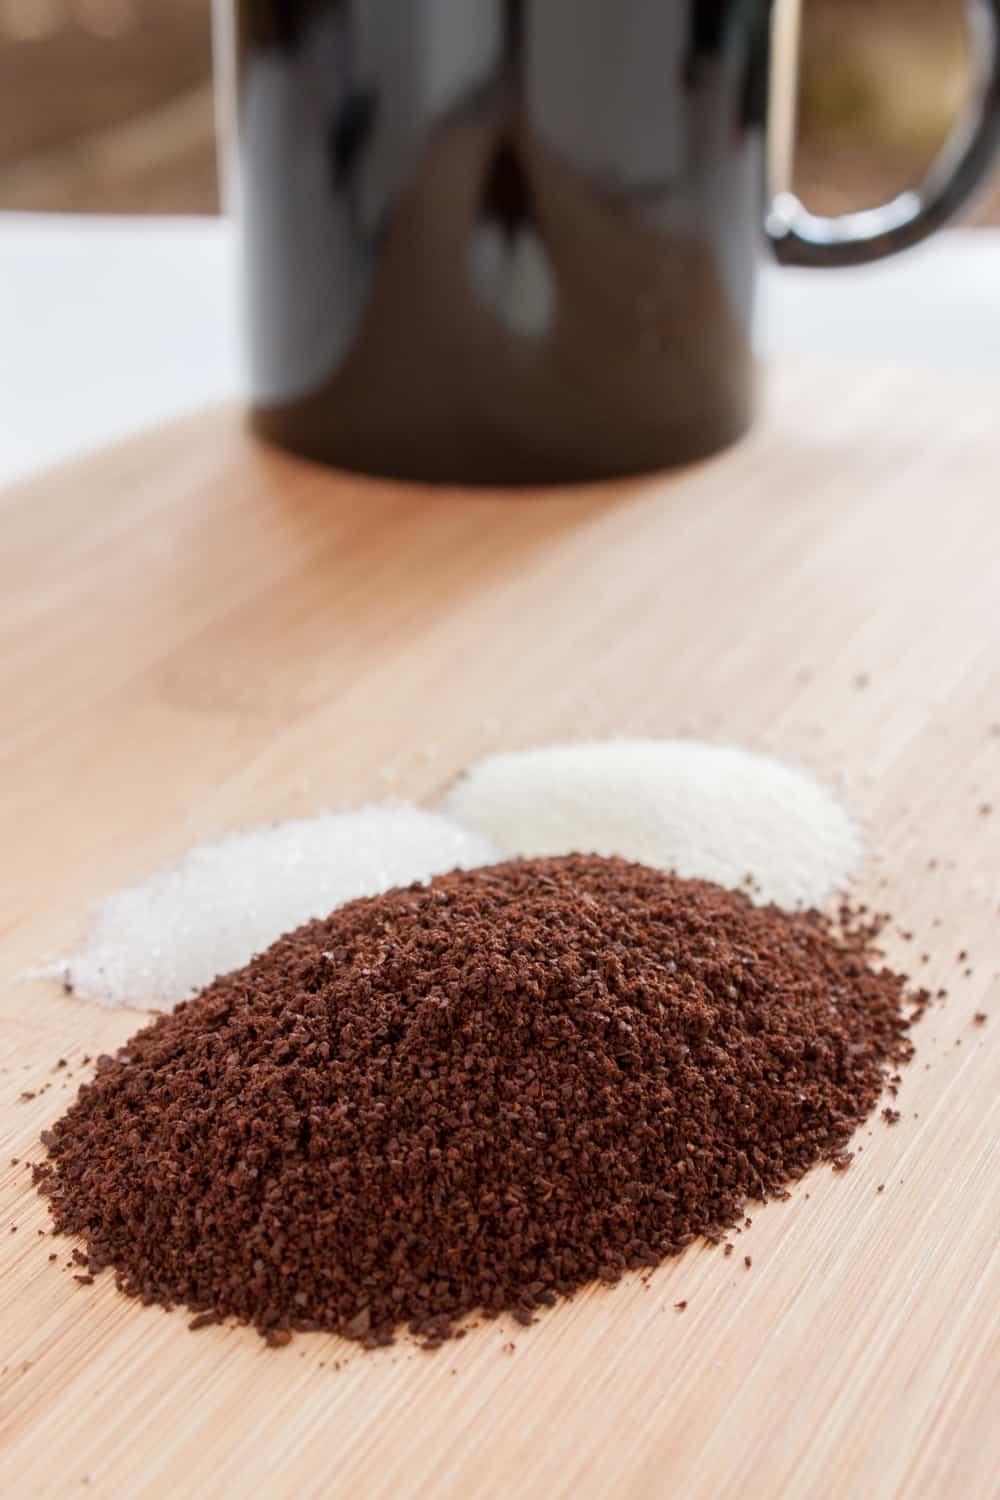
Cowboy coffee is traditionally served black – after all, who wants to worry about keeping milk fresh when you’re camping?
If you prefer your coffee sweeter or creamier, though, you can add sugar and milk. Add small amounts at a time and check the results before adding more.
If you’ve followed the recipe carefully, you should have a delicious cup of coffee. If, however, you’ve got distracted telling stories around the campfire and let the coffee boil for too long – don’t despair.
A bitter flavor can be remedied by adding a tiny amount of salt. An eighth of a teaspoon stirred into your cup will do the trick.
Step 10: Ready for seconds?
If you’ve got coffee left over, don’t be tempted to just leave it in the pot and drink it later. It will quickly go stale. Instead, transfer it to a thermal carafe to keep it warm and away from the air.
If you’re camping you might even want to dig a small hole in the ground to keep the carafe in. It will keep your coffee warmer for even longer.
When you’ve finished with the coffee in the pot, just tip out the grounds and rinse out the pot with clean water. As when you seasoned the pot, don’t go near it with detergent! You’re now ready to brew your next batch.
Step 11: Homeward bound – packing up right
When you’ve finished your camping trip, make sure the pot is completely dry before you pack it away.
The more you use it, the better seasoned it will become, and the better the flavor of your final cup. Whatever you do, don’t waste the effect of all those campfire brews by allowing your pot to grow moldy!
If you’ve been making your coffee at home, the same thing applies. Make sure whatever pot you’ve used is bone dry before you put the lid back on and stow it away.
Conclusion
We hope you’ve enjoyed this step by step guide to making an authentic cup of cowboy coffee.
Spending some time in the Great Outdoors is a wonderful way to get away from it all and reconnect with nature. And there’s nothing better when the chill of nightfall descends than a warm, comforting cup of coffee around the campfire.
But we think cowboy coffee should have more going for it than the romance of recreating a time gone by. It can have a genuinely great flavor too.
We hope you’ve been inspired to try making cowboy coffee on your next camping trip. Or if you prefer the comfort of a warm bed, why not make it on the stovetop instead?
Please comment and let us know what you think. And if you’ve tried your hand at cowboy coffee, let us know how it went! Finally, if you’ve enjoyed this article, please share it and introduce your friends to a whole new coffee experience.
Excellent and straightforward. Probably like the cowboy that invented this recipe and the one that has used it for many years that came up with this method. Thanks for your effort and I look forward To try it on the trail and on the stove. A cowboy coffee lover