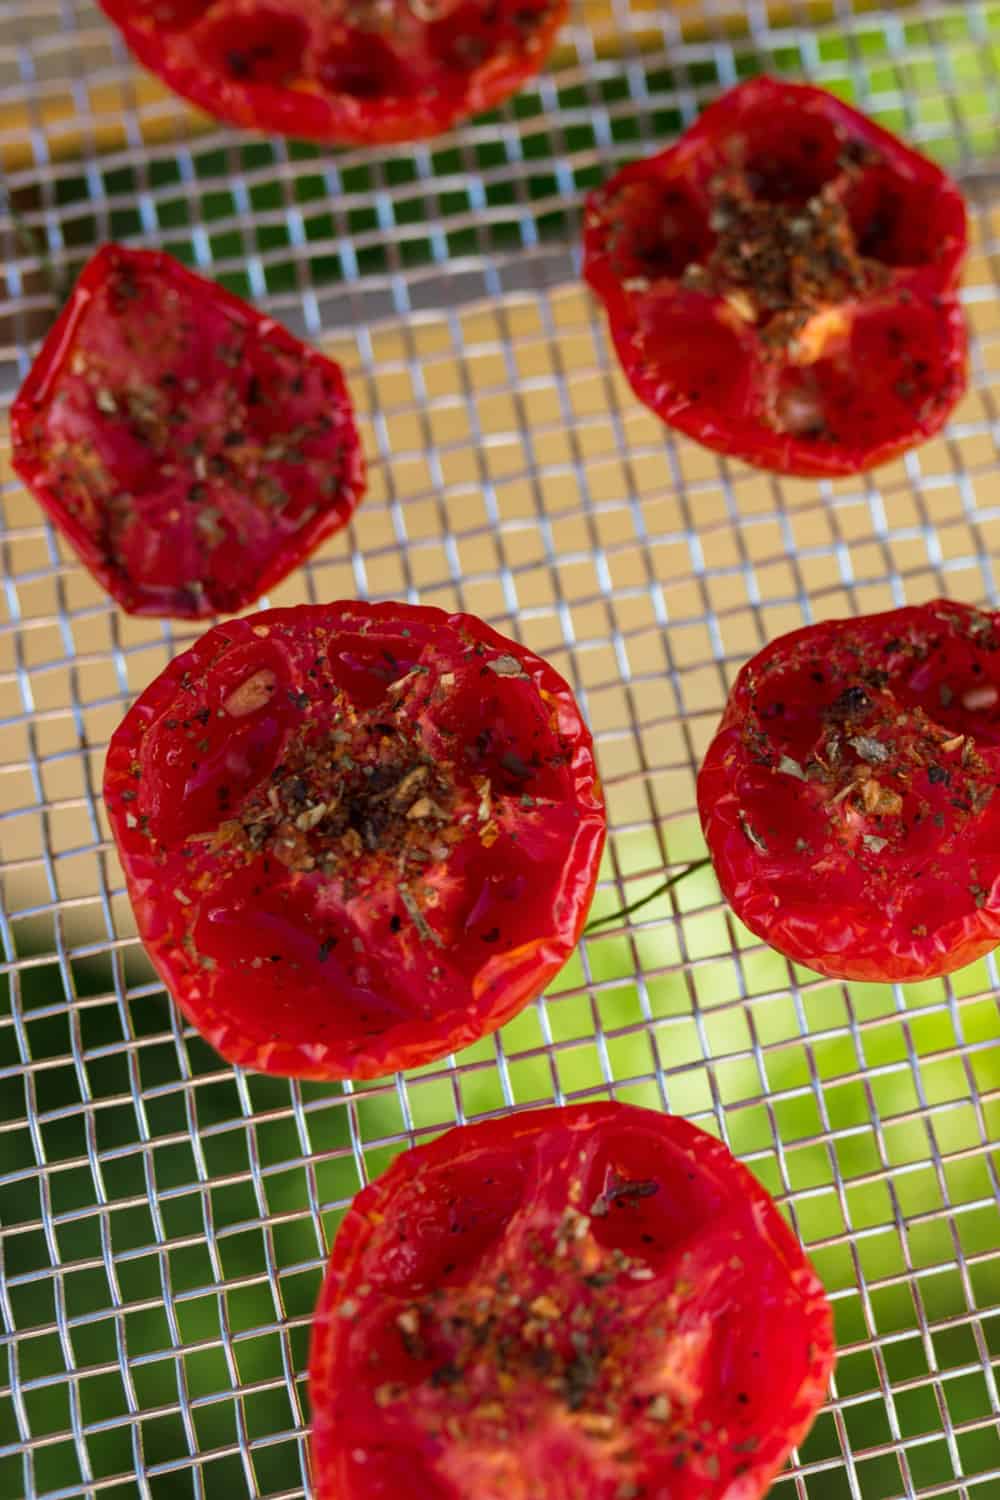
A dehydrator is a great piece of kit for preserving food or changing its flavor. Use it to create your own sundried tomatoes or preserved apricots in the comfort of your own home.
Ready-made machines can, however, be very expensive. The good news is, there is an alternative.
We’ve searched online for 14 of the best DIY dehydrator plans out there. If you’re thinking of making a dehydrator, here’s where to find help and guidance to make it a success.
Table of Contents
1. How to Build a Food Dehydrator
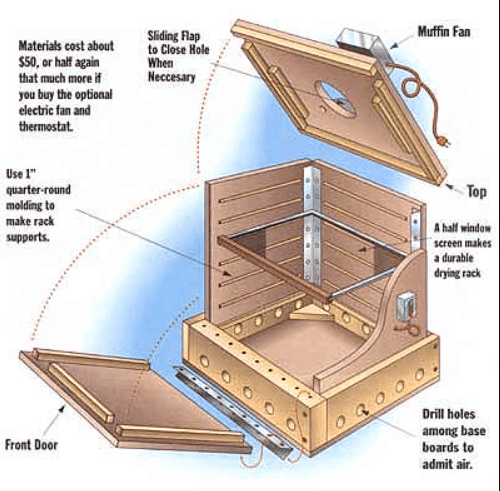
This guide from sustainable living experts Mother Earth News has everything you need to build a dehydrator from scratch. There’s a lot of text here, and only one diagram, so it won’t be the best choice for visual learners. But it is broken down into useful sections explaining how to build every component part. There’s lots of helpful advice on finding materials, including scavenging parts from old appliances to save money. This is a guide that’s built on the real-world experience of the author, and it shows. If you can live without lots of pictures, it’s a treasure trove of information.
2. DIY Dehydrator from Cardboard Box
This brilliant video from The King of Random uses cheap, simple materials to make a dehydrator. The body is constructed from a cardboard box covered with aluminum foil. There are some slightly more hi-tech components – but not many. And there’s useful advice on where to find them and how to keep your costs low. The video explains how the dehydrator works and includes some extra refinements to get it functioning perfectly. Note that there is some soldering to do with this one. At the end, you’ll see the results with pineapple, apple slices and beef jerky. Delicious!
3. Make a Food Dehydrator with Household Items
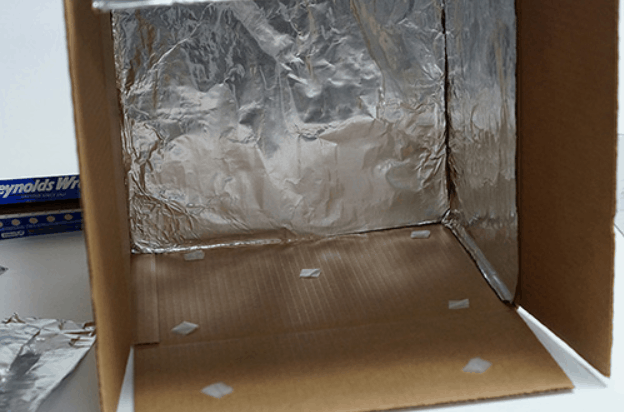
This guide is another one that uses a small collection of simple household objects to make a dehydrator. You won’t even need a fan for this one. The plan walks you step by step through the construction process, and it’s all very simple to do. You won’t need any sophisticated tools either. Each step is illustrated with a photograph so you can see the project as it progresses. And there’s additional information on suitable foods and the optimal temperatures at which to dehydrate them.
Check this tutorial
4. How to Build a Homemade Dehydrator (for Under $20!)
This YouTube video shows you just how easy – and cheap – it can be to make your own dehydrator. The video kicks off by showing you all the component parts you’ll need. The body of the dehydrator is made from a cardboard box, and the most expensive thing you’ll need is a heat lamp. The video shows every step clearly, but edits the process to speed things up. You can see the whole project in under 7 minutes. And there’s helpful information on how to make dehydration faster too.
5. Food Dehydrator – Simple and Cheap
If you’re looking for a more sophisticated model, or want to fine tune your own design, check out this plan from Hackaday.io. As well as explaining the way dehydrators work, this includes a clear, comprehensive plan for how to make your own. This involves more components than other designs – including a resistive heater, switches and a pegboard to assist airflow. The plan even includes a schematic to show the electrics. There aren’t lots of photographs, but this is a brilliant guide for understanding the nitty gritty of how to build an effective dehydrator. And you can learn from the results of experiments using different fruits, quantities of food and temperatures.
6. How to Make a Food Dehydrator and Smoker
This video from UK-based website Heritage Craft shows you how to make a two-in-one smoker and dehydrator. It’s perfect for foods that benefit from both processes – smoked paprika is the obvious example. This is a heavier duty project, involving welding a metal frame. There’s even a glass door so you can keep an eye on what’s going on inside. It’s best suited to confident DIYers with plenty of power tools. Tom Green’s relaxed and friendly presentation makes it a pleasure to watch, and there’s lots of advice here on how to choose the best materials.
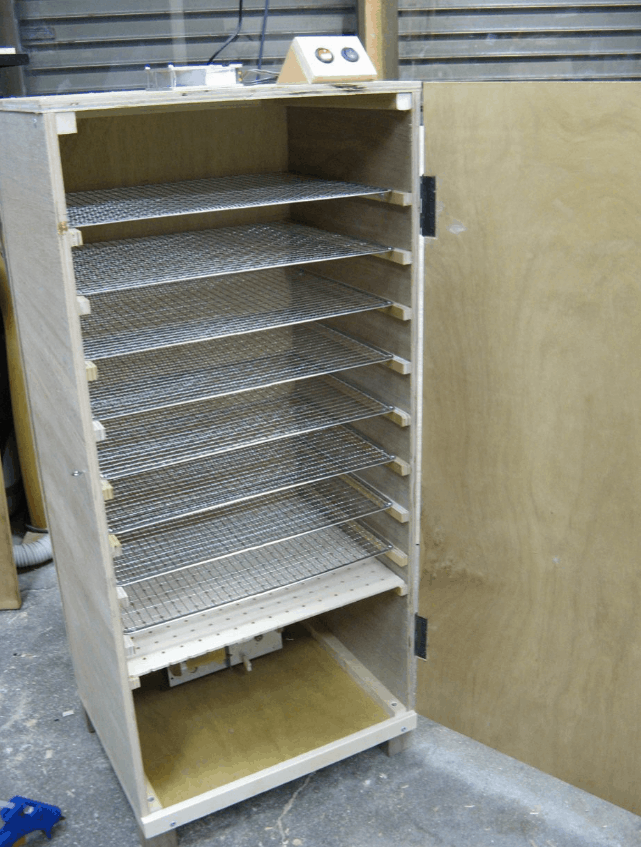
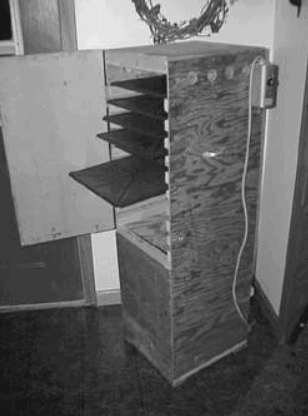
7. Box Food Dehydrator
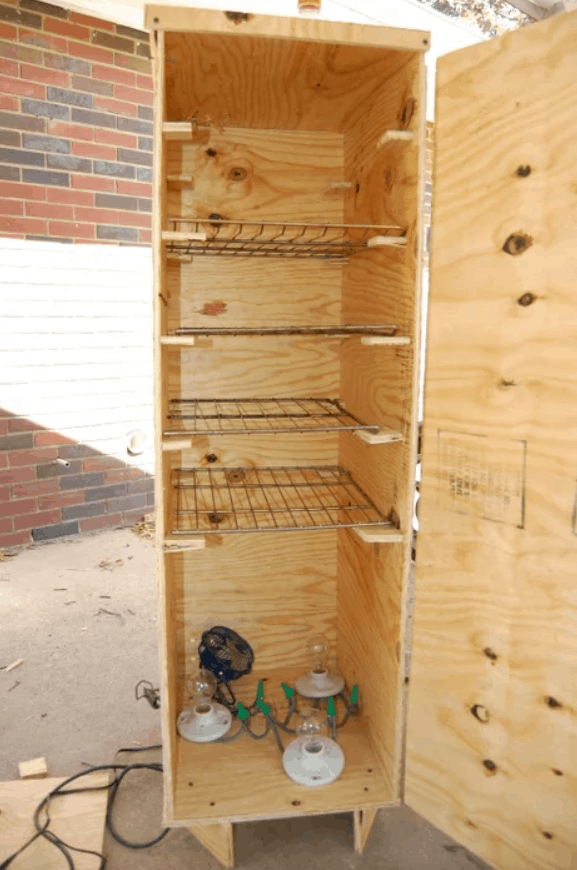
This is a great intermediate plan for those who want a simple but robust design. It uses the same principles as dehydrators built from cardboard boxes, and many of the parts are similar too. But in this case, the body is upgraded to a wooden cabinet, making it far harder wearing. All the materials are helpfully listed at the start, with ideas for keeping costs low. The guide records everything the author did, complete with pictures. And it’s honest about what didn’t work well, so you can learn from their mistakes.
8. How to Make a Food Dehydrator from an Old Fridge
If you happen to have an old refrigerator you don’t know what to do with, save it from the tip! This ingenious YouTube video shows you how to use it to make a food dehydrator. The video is in two parts, and you’ll need about half an hour to watch both of them. You’ll also need to watch them all the way through before assembling your shopping list, as there’s no materials list at the start. This is another project best suited to experienced DIYers with lots of tools and equipment to draw upon. But if that’s you – and you have an old fridge knocking about – this is an immensely satisfying project.
9. DIY Dehydrator
This project guide from Home Depot includes all the information you need to make a solar dehydrator. That’s right, you’ll be able to dry out your fruit or beef jerky without using any electrical power. It will take you between 2 and 4 hours to construct, and Home Depot grade it as being of intermediate difficulty. The plan includes separate lists for tools and materials, each of which is clearly illustrated. The 12 steps are accompanied by detailed technical drawings, complete with measurements, and photographs. Paint or stain it at the end, and you’ll be left with a really professional looking dehydrator.
10. DIY Solar Dehydrator
This is a great design for anyone looking for a solar dehydrator with bags of space. The presenter explains the different parts of the dehydrator, the science that makes it work, and reasons for drying food. And he’s open about the disadvantages of relying on the sun too – namely, needing a different dehydrator when it isn’t shining. There’s no step-by-step guide to making this model, but there’s lots of guidance to enable you to design and make your own. If you’re looking for inspiration rather than a blueprint, this is a great video.
11. How to Turn Your Oven into a Dehydrator
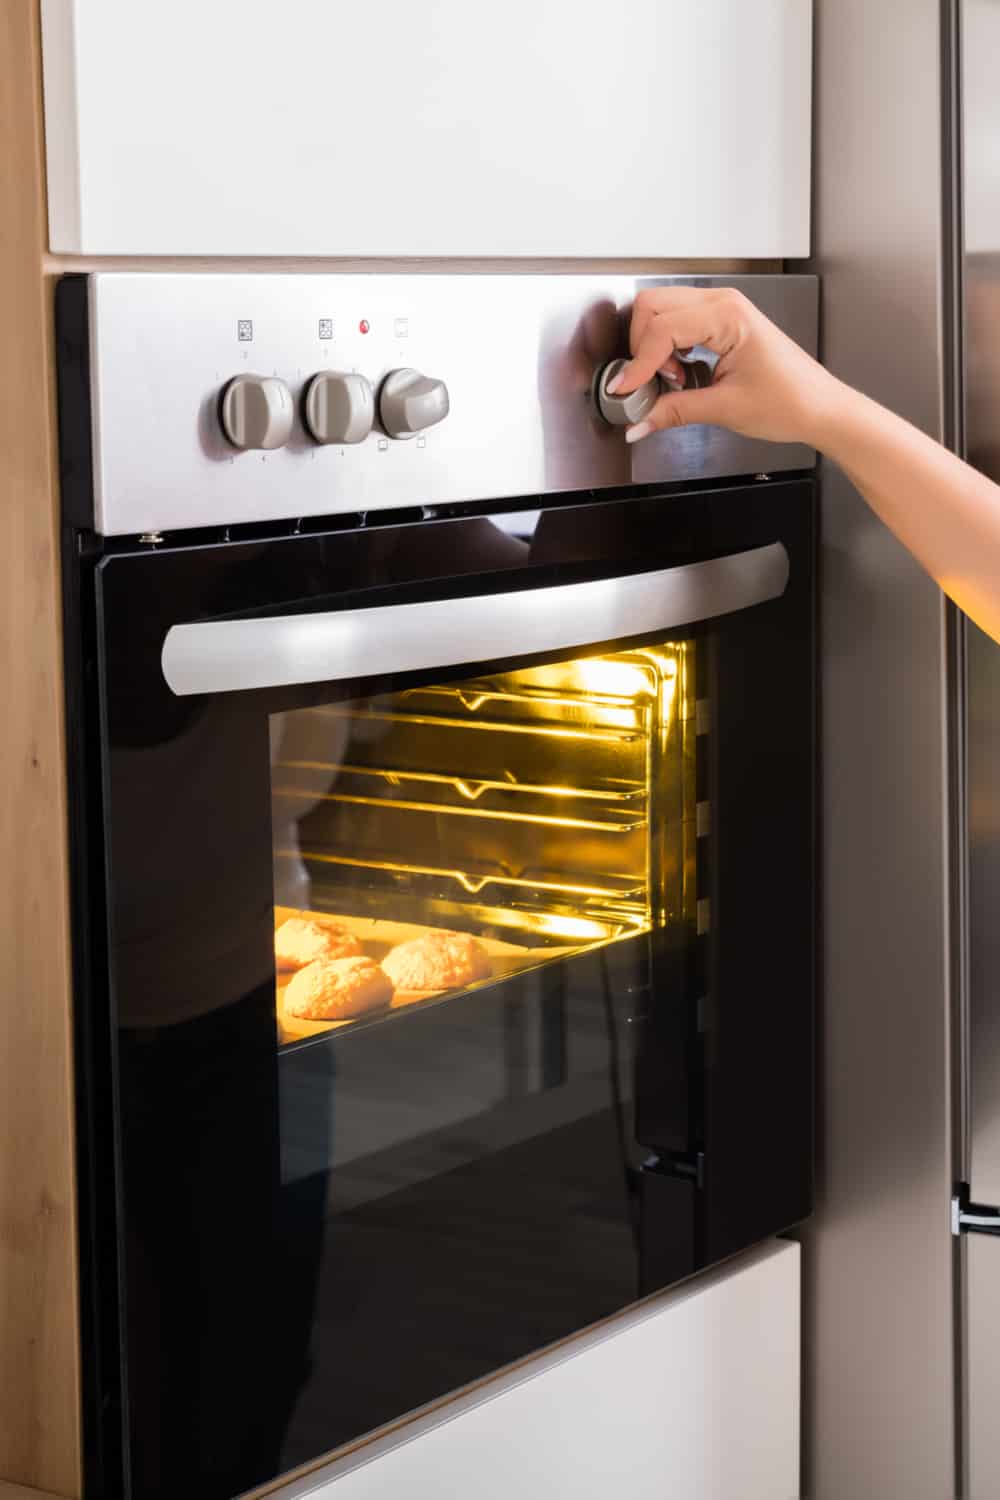
If you don’t fancy building your dehydrator from scratch, why not use your oven to dry out food? This guide talks you through how to prepare your food and apply the right level of heat. You’ll need just a few items you’ll probably have in your kitchen already. They’re listed at the start of the plan. And everything you need to know about how to get the best results is clearly explained. There aren’t many pictures with this one, but it’s so simple you really won’t need them.
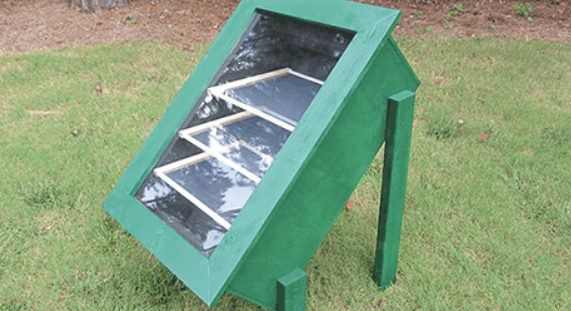
12. How to Make a Solar Food Dehydrator from Beer Cans
What could be more fun than making a solar food dehydrator? Making a solar food dehydrator out of beer cans! The design here is based on the same principles as a solar furnace. It doesn’t require any expensive materials – just those beer cans, some scrap wood, a sheet of acrylic and some paint. Because this project was made largely from scrap, however, there’s no parts list. You’ll need to watch it through to the end to see how it was done. And you’ll need some tools, including a belt sander, core drill, tin nips and a glue gun. This assumes some DIY knowhow, so is best tackled by those with at least an intermediate level of skill.
13. Build This Sturdy Large-Capacity Food Dehydrator
This article follows Charles Sanders as he builds his own large food dehydrator from scratch. It draws on Charles’s experience of different kinds of commercial and domestic dehydrators, and aims to replicate their best features while avoiding their flaws. There’s more text here than pictures, and the description doesn’t get into huge amounts of detail. But if you’re looking for a plan that can fire your imagination, this is a good choice. And Charles offers lots of suggestions for different approaches to customize your own design.
14. Non-Electric Dehydrator – How to Build an Infrared Solar Dryer
This video from Jonathan the “Provident Prepper” is based on a design from gardening expert Tom Bartels. It starts by explaining the advantages of using infrared energy and discussing the basics of the design. It also sets out the limitations that haven’t yet been fixed, giving you an opportunity to find your own solutions. There’s a list of materials, together with information on where to get them and alternative options. And each step has a clear image with Jonathan explaining what he’s doing.
Read to try making your own dehydrator?
We hope you’ve been inspired by some of these plans to try making your own dehydrator! Whether you’re a confident DIYer or just starting out, there’s a project to suit your needs.
None of the designs here are expensive, though some do rely on being able to access more sophisticated equipment. If you can’t do that, go for a low-tech approach – you can still get excellent results.
We hope you enjoy making your new dehydrator – and enjoy those delicious, dried snacks!
Hi. I just have a question. What are people using for their dehydrator trays that is non stick? I like to dry fruits but even my store bought dehydrators tray stick, I would imagine just using window screen and drying racks would stick real bad.
It helps if you rub coconut oil on the wire before placing food on. Aluminum wire and plastic shelves are not the best idea for drying food if you are trying to steer clear of those items for health sake. Stainless steel cookie cooling racks are a better choice but requires an investment.